Troubleshoot common Verkada login access issues, including lockouts, password resets, and activation problems. Get solutions now!
Having trouble getting into your Verkada system? It happens. Whether it's a login issue or a device acting up, figuring out what's wrong can be a pain. This guide is here to help you sort out those common Verkada login and access problems, so you can get back to what matters.
Getting locked out of your Verkada system or having trouble logging in can be a real headache, especially when you need to access critical security footage or manage access control. Let's break down some common login problems and how to fix them.
Verkada has security measures in place to protect your account from unauthorized access. One of these is an account lockout policy. If someone tries to log in with the wrong password too many times, the system will temporarily lock the account. This is a good thing for security, but it can be inconvenient if you forget your password or if a legitimate user gets locked out.
It's important to know your organization's specific lockout policy. This information is usually available from your IT department or security administrator. Knowing the number of attempts before lockout and how long the lockout lasts can save you time and frustration.
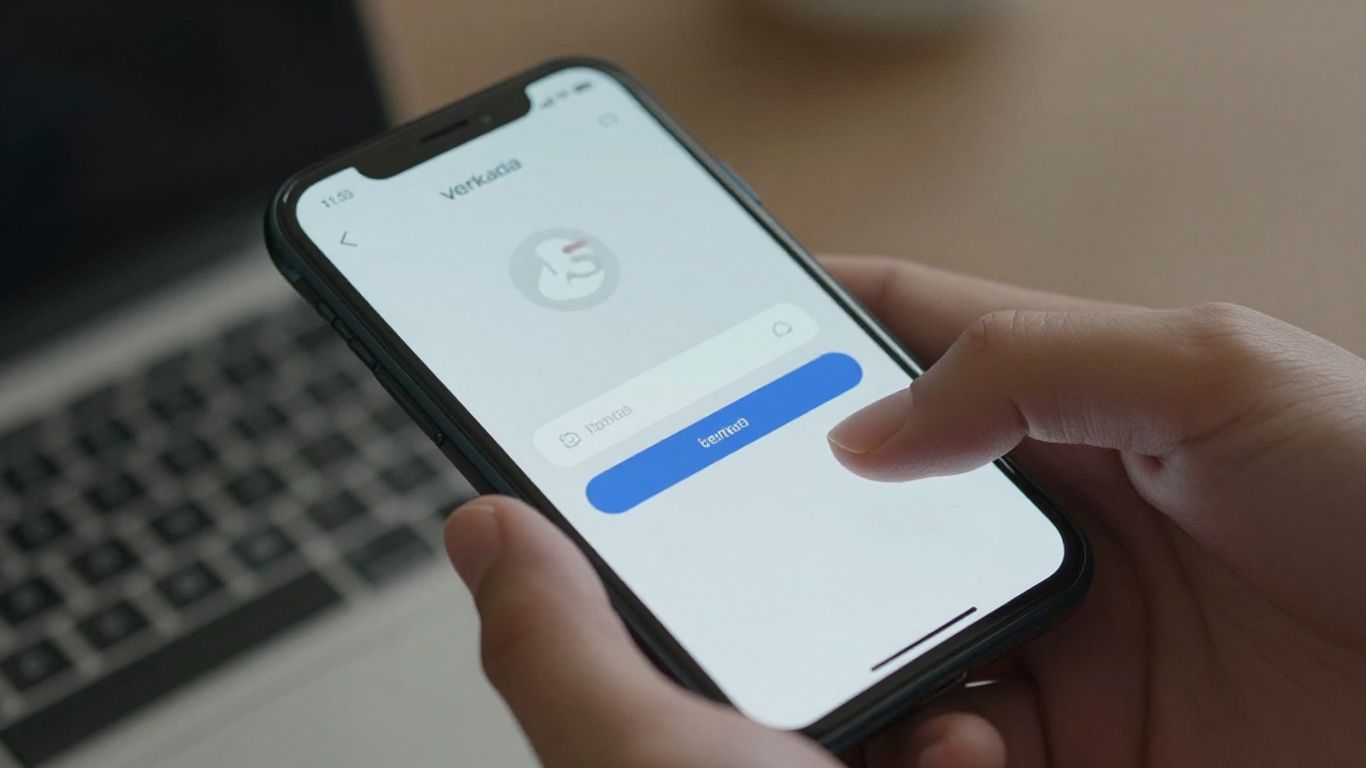
Forgetting your password happens to the best of us. Thankfully, Verkada makes resetting your password pretty straightforward. The exact steps can vary slightly depending on whether you're resetting your own password or if an administrator is assisting.
The most common way to reset your password is through the Verkada login page.
If you're an administrator and need to reset a user's password, you can typically do this through the Verkada Command interface under the "Users" or "People" section. You'll select the user and choose the option to reset their password, which will then send them an email to set a new one.
When a new user is added to your Verkada organization, they'll need to activate their account. This usually involves clicking a link in an activation email. Once activated, your account remains active as long as it's needed and doesn't violate any terms of service. However, there are a couple of scenarios where an account might effectively 'expire' or become inactive:
It's a good practice to periodically review your user list in Verkada Command to ensure all active accounts are still necessary and that the associated email addresses are correct.
Sometimes, your Verkada devices just won't talk to the network, and it's super frustrating. You've got cameras not recording, access control not unlocking doors, or sensors not sending data. It usually comes down to a network hiccup somewhere along the line. Let's break down how to figure out what's going on.
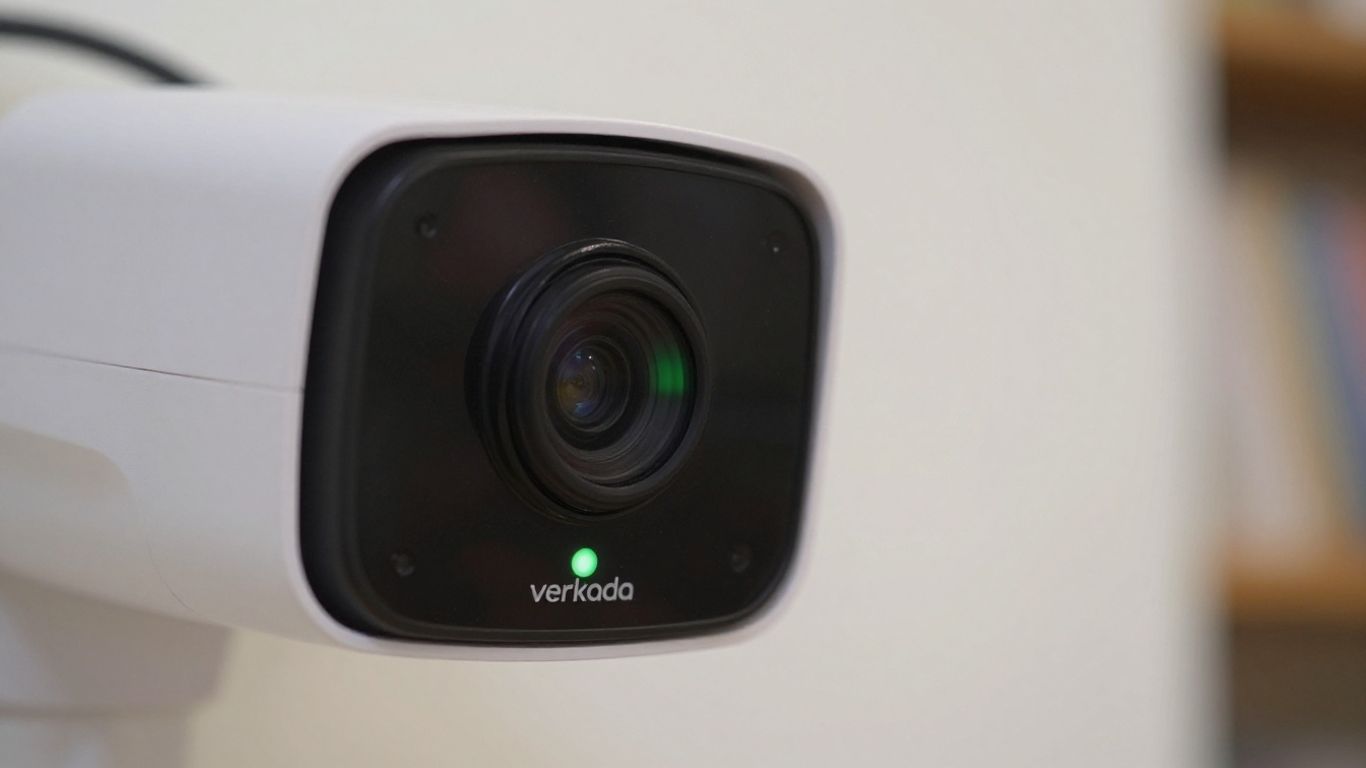
First off, take a look at the lights on your Verkada gear. These little LEDs are your first clue. Most devices have a main status light, but some, like the AC12 access controller, have a separate network status LED. Cameras often have a more complex sequence of flashes. A solid orange light usually means the device is on and trying to boot up, while a flashing orange light indicates it's busy updating its firmware. If you see a solid blue light, that's the golden ticket – it means the device is running, connected, and doing its thing. But if it's flashing blue, that's your signal that there's a network connection problem.
For cameras, the LED patterns can be more detailed. If you're seeing a flashing blue light on a camera, it's worth checking out the specific Camera LED Status Indicators for a more precise diagnosis.
When that blue light is flashing, it's time to play detective with your network. A common culprit is the device not getting an IP address from your DHCP server. Make sure your network is set up to hand out IP addresses and that there aren't any conflicts. Another issue could be the device's inability to find Verkada's servers by name, which points to a DNS problem. You'll want to verify that your DNS server can resolve Verkada hostnames correctly. Also, check that your firewall isn't blocking the necessary internet access. Verkada devices need to reach the cloud via HTTPS (TCP port 443) and sync time using NTP (UDP port 123). If you have any kind of network inspection or TLS decryption happening, that can sometimes interfere, so make sure your Verkada devices are exempted from that.
Sometimes, the simplest fix is the most overlooked. Double-checking that your Ethernet cables are securely plugged in at both ends and that they aren't damaged can save you a lot of headaches. Also, ensure your cables aren't too long; exceeding 100 meters can cause signal degradation.
To make sure your Verkada devices can actually talk to the cloud, you need to confirm a few network settings. This involves checking that your network allows traffic to specific Verkada domains and ports. You'll want to work with your network administrator to confirm that the following are permitted:
access.control.verkada.com, api.control.verkada.com, relay.control.verkada.com, index.control.verkada.com, firmware.control.verkada.com, and update.control.verkada.com.time.control.verkada.com and its IP address 34.216.15.26.If you suspect a problem, you can perform some network diagnostic tests. One method involves temporarily configuring your laptop with the same IP settings as the Verkada device and connecting it to the same network cable. Then, try to access the required Verkada URLs from your laptop's browser. You can also test NTP reachability using command-line tools. If all these tests pass but the device still shows a flashing blue light, it might be time to contact Verkada Support. They might ask for a support token and a packet capture from the switch port for further analysis.
Sometimes, even with the best setup, hardware can act up. When your Verkada access control system isn't behaving, it's usually down to a few common culprits. Let's walk through how to check the reader, the lock relay, and those important door position switches.
First off, let's talk about the reader. If you scan a badge and nothing happens, or the reader doesn't even light up, there are a couple of things to check. Make sure the reader itself is getting power. You can test this by using a multimeter to check the voltage across the reader's power terminals. For most Verkada readers, you're looking for around 12V DC. If the voltage is off, or if the reader still doesn't respond after confirming power, try swapping it with a known working reader to see if the issue follows the reader or stays with the port. This helps pinpoint if it's a reader problem or a controller port issue.
Now, for the lock relay. This is what actually tells your door to unlock. To test if the relay is working, you'll need to check its continuity. Connect your multimeter to the Normally Closed (NC) and Common (COM) terminals of the lock relay. Then, you'll need to change the voltage switch on the door cassette to 0V. This action should change the lock relay state. If you get continuity when you expect it, the relay is likely functioning. If not, the relay itself might be the issue.
Door position switches (DPI) and Request to Exit (REX) inputs are pretty straightforward but vital for your system's logic. The DPI tells the system if the door is actually open or closed. The REX is what allows someone to exit without a badge. To test these, you can often use a short wire. For the DPI, connecting the input to its adjacent ground port should trigger a change in the system's status, indicating it's working. Similarly, for the REX input, you can temporarily short the input to ground. If the controller registers these changes, the inputs are likely fine. If not, check the wiring and ensure the inputs aren't damaged. Having a multimeter handy is always a good idea for troubleshooting physical components and connections. Many common issues yield an LED code that can help explain the root issue. Many common issues yield an LED code.
The AUX cassette is where you connect auxiliary devices, like additional door position switches or request-to-exit buttons, beyond the primary ones. Testing power to the AUX cassette is similar to testing the reader – use your multimeter to check the voltage at the power terminals. For input signals on the AUX cassette, the process is much like testing the DPI and REX inputs on the main cassette. You'll want to verify that when an input is triggered (e.g., a button is pressed, or a switch is activated), the controller registers the signal. This often involves shorting the input terminal to ground. If the controller doesn't respond, double-check your wiring and the specific input configuration within Verkada Command. Sometimes, issues here are as simple as a loose wire or an incorrect wiring diagram.
When troubleshooting hardware, always remember to disconnect power to the access controller before making any wiring changes. This prevents accidental shorts and protects both the equipment and yourself. It's a simple step that can save a lot of headaches later on.
Getting Verkada gear set up right the first time can save a ton of headaches down the road. It’s not just about plugging things in; it’s about making sure everything works smoothly before you even leave the site. Think of it like building something – a solid foundation makes everything else easier.
Before you even think about heading out to the actual installation site, it’s a really good idea to set up and test all your Verkada hardware in a controlled environment. This is often called 'staging'. It means you can catch any faulty devices or configuration issues early on, when it’s much simpler and cheaper to fix them. Imagine finding out a controller is DOA when you're up on a ladder – not ideal.
Here’s a basic setup you can use for staging:
When you wire everything up, connect the lock, reader, DPI, and REX to the controller. Then, connect the controller to your managed switch, and your laptop to the same switch. Power everything on and let the controller update its firmware. You'll know it's ready when the status LED turns solid blue. Test each component – can you badge in? Does the door sensor report correctly? This step is your best chance to catch problems before they become field issues.
Setting up a staging environment isn't just about testing hardware; it's about simulating the actual installation. This allows you to verify network connectivity, power requirements, and the basic functionality of each connected device. It’s a proactive approach that minimizes surprises and ensures a smoother deployment.
Beyond the Verkada devices themselves, having the right tools makes the job much easier. You don't need a massive toolkit, but a few key items are pretty important:
Once your hardware is staged and tested, or when you're on-site, configuring the network settings for your Verkada controller is the next big step. This usually involves connecting the controller to your network via Ethernet.
Getting these network settings right from the start is key. If the controller can't talk to Verkada Command, none of the access control features will work properly.
When your Verkada devices aren't behaving as expected, especially with network connectivity, it's time to get a bit more technical. Sometimes, the issue isn't obvious just by looking at the status lights. We need to dig into the network itself. Think of it like trying to figure out why your internet is slow – you can't just stare at the modem; you have to check the connections, the speed, and what's happening on the line.
Running network diagnostic tests can pinpoint whether the problem lies with the device, the network infrastructure, or the connection to Verkada's cloud services. This involves looking at things like IP addresses, DNS resolution, and whether the necessary ports are open.
Here are some common network issues and how to approach them:
command.verkada.com) into IP addresses. If your DNS server isn't set up right or can't reach external DNS servers, your Verkada devices won't be able to find the cloud. Make sure your DNS settings are correct and that the devices can reach your DNS server.Sometimes, security measures like TLS inspection can interfere with device communication. If you're using such a system, it's often necessary to whitelist or exempt your Verkada devices to prevent issues. This ensures that encrypted traffic isn't being tampered with in a way that breaks the connection.
While most Verkada traffic heads to the cloud, there are times when devices need to talk directly to each other on your local network. This is especially true for features like local streaming or certain access control functions. If this local communication is hindered, some features might not work as smoothly, even if the devices are connected to the internet.
Here's a quick rundown of what relies on local connections:
These local connections are generally faster than cloud connections, so they're preferred when available. If one device loses its cloud connection but still has a local link to another device, the feature can often continue to function.
When you've exhausted your own troubleshooting steps or need a hand from Verkada support, having a support token ready can speed things up considerably. This token is essentially a temporary key that grants support personnel access to your system to help diagnose issues.
Here’s how it generally works:
Having your device serial numbers readily available alongside the support token is also highly recommended. This allows support to quickly identify the specific hardware you're having trouble with, making the diagnostic process much more efficient.
Verkada takes security seriously, especially for those with administrative privileges. For all Organization Administrators (Org Admins) in Verkada Command, Two-Factor Authentication (2FA) is not optional; it's a requirement. If you're an Org Admin and haven't set up 2FA yet, you'll be prompted to do so the next time you log in. There's no way around this, which is good for keeping your system secure. Verkada Support also can't disable 2FA for you, so make sure your authentication methods are always accessible.
When you're creating or changing your password for Verkada Command, there are a few rules to keep in mind to make sure it's strong enough. Your password needs to be at least 8 characters long. It also has to include at least one number (like 0-9) and at least one special character. Think of characters like !, @, #, $, %, or &. Verkada also checks your chosen password against a database of known leaked passwords, like the one maintained by Have I Been Pwned. If your password shows up there, Verkada will block it and ask you to pick something else. This helps prevent attackers from using passwords that might have been compromised in other data breaches. For the best security, it's always a good idea to use a randomly generated password. Remember, your actual password never leaves Verkada's system; they use a hashed version for these checks.
Verkada has a system in place to help protect your account from what's called credential stuffing. This is when hackers try to log into your account using usernames and passwords that were leaked from other websites. To combat this, Verkada checks any new password you set against a list of passwords known to have been exposed in data breaches. If the password you choose is found on this list, Verkada will prevent you from using it and prompt you to select a different, more secure one. This is a proactive step to keep your Verkada account safe. It's a good reminder that reusing passwords across different services is a risky practice. For enhanced security, consider using a password manager to generate and store unique, strong passwords for all your online accounts, including your Verkada login. You can also explore options like OpenID Connect (OIDC) for an additional login option.
Here's a quick rundown of password rules:
While Verkada doesn't enforce a maximum password age by default, you can implement this by integrating with SSO or Active Directory via SAML, where such policies can be configured. This gives you more control over password rotation within your organization.
So, we've gone over a bunch of common headaches people run into when trying to log into Verkada. It's usually something pretty straightforward, like a forgotten password or a simple network hiccup. Remember to double-check those login details, make sure your internet is playing nice, and if you're still stuck, the LED lights on the devices can give you a big clue about what's going on. Don't forget about the handy resources Verkada offers, like their support site and training videos. Most of the time, a quick look at those or a simple reset will get you back in. If all else fails, reaching out to their support team is always an option, and they can usually sort things out pretty quickly.
First, double-check that you're typing your username and password correctly. Make sure Caps Lock isn't on! If you've forgotten your password, look for a 'Forgot Password' link on the login page to reset it. If you're still having trouble, it might be a temporary lockout. Wait about 15 minutes and try again. If the problem continues, you may need to contact Verkada support for further help.
It's pretty simple! On the Verkada login screen, you should see a link that says 'Forgot Password' or something similar. Click on that, and you'll be asked to enter your email address. Verkada will then send you an email with a special link. Click that link, and you'll be able to create a new password. Just remember, this link usually only works for 24 hours, so try to do it quickly!
Your account gets locked out if you enter the wrong password too many times in a row. Verkada does this to protect your account from someone trying to guess your password. Usually, the lockout lasts for about 15 minutes. After that, you should be able to try logging in again. Just be sure to enter the correct password this time!
A flashing blue light on a Verkada device usually means it's having trouble connecting to the network. This could be because of a few things, like a problem with the internet cable, the Wi-Fi, or the settings on your network. It's a good idea to check that all the cables are plugged in securely and that your internet connection is working. Sometimes, restarting the device or your network equipment can also fix this.
When a new Verkada account is created for you, you'll get an email invitation. This email will have a link to activate your account. Click on that link, and it will guide you through setting up your username and password. Keep in mind that this activation link is usually only good for a certain amount of time, often 30 days, and you can typically only use it once.
To keep your account safe, Verkada has some rules for passwords. Your password needs to be at least 8 characters long. It also must include at least one number (like 1, 2, or 3) and at least one special character (such as !, @, #, or $). Verkada also checks if your password has been part of a data leak, and it won't let you reuse your last few passwords to make your account more secure.
Connect with us to explore our scalable solutions tailored to your unique needs and receive a personalized free quote.


