Learn how to securely access your Verkada login portal with advanced authentication, SSO, and 2FA options. Enhance your Verkada login security.

Getting into your Verkada system securely is pretty important, right? You want to make sure only the right people can see what's going on. There are a bunch of ways to handle your verkada login, from simple password setups to more advanced stuff like single sign-on. This guide will walk you through how to set up your verkada login so it's as safe as possible, without making things too complicated for your team.

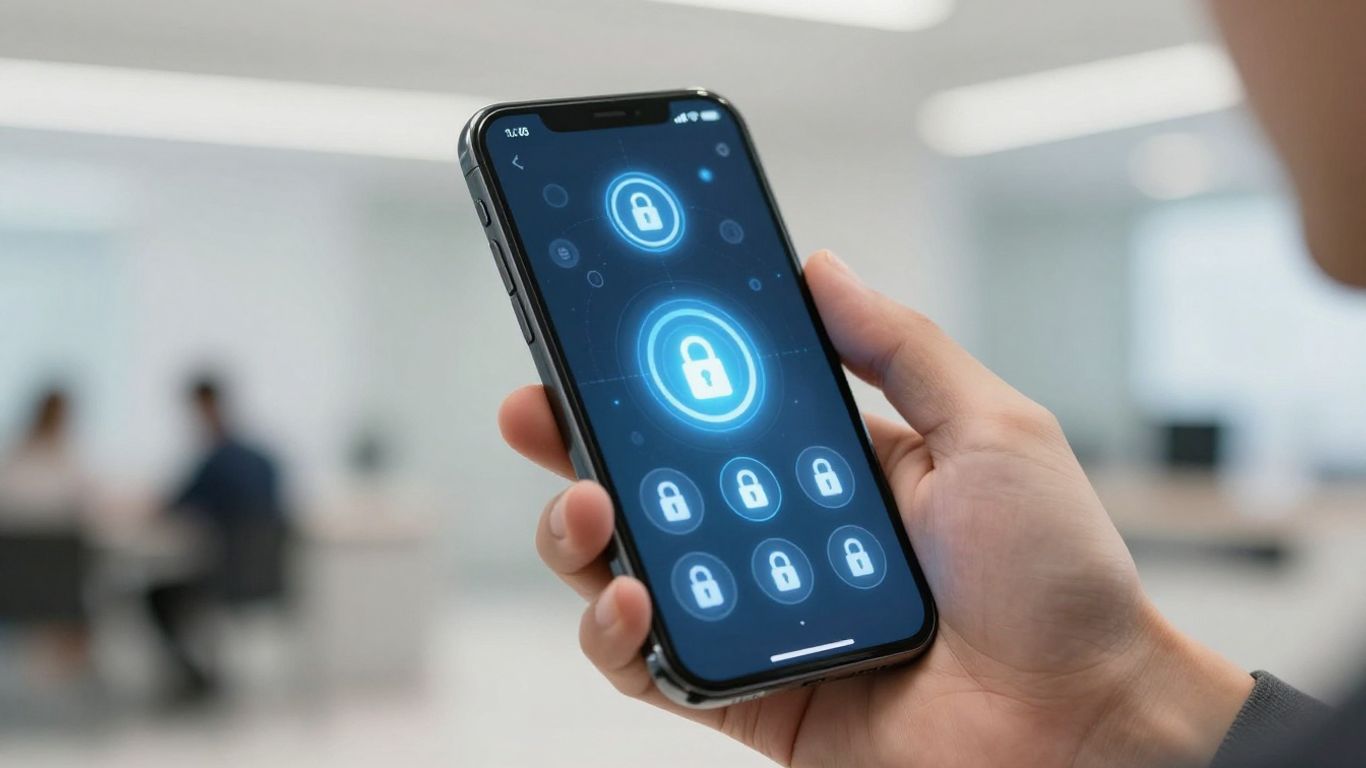
Keeping your Verkada system secure starts right at the login. It's not just about a password anymore; there are several ways to make sure only the right people get in. Think of it like adding extra locks to your front door – each one makes it harder for someone unauthorized to get through.
When you first set up Verkada, the default way to log in is usually with an email and a password. This is pretty standard, but it's also the most basic level of security. If someone figures out your password, they're in. That's why Verkada offers more robust options to beef up your login process. These methods aim to verify your identity in more than one way, making it much tougher for attackers.
Here's a quick look at some common ways to authenticate:
The goal is to move beyond just a password. Each additional step you add significantly reduces the risk of unauthorized access to your system.
Not all organizations have the same security needs. A small office might be fine with a slightly more advanced login, while a large company with sensitive data will need top-tier protection. Verkada gives you options to match what you need.
Verkada generally suggests using Single Sign-On (SSO) combined with OpenID Connect (OIDC) if possible. Why? It offers a really good mix of strong security and a smooth experience for your users. With SSO, people log in once to a central system, and that system handles the verification for Verkada and other apps. OIDC is a modern way to do this that's built for security and works well with different identity providers. It means your users don't have to remember a separate password for Verkada, and you get better control over who has access.
Beyond the basic email and password, Verkada offers ways to make logging in more secure and convenient, especially if you're managing a lot of users or have existing security systems in place. These advanced options help streamline access while keeping your data safe.
OpenID Connect, or OIDC, is a modern way to handle logins. It's built on top of OAuth 2.0 and lets users log in using a trusted service, like your company's Microsoft Entra ID. This means you don't have to manage separate passwords for Verkada, and it's generally considered more secure than older methods. Verkada actually recommends using OIDC when possible because it offers a good mix of security and ease of use for your team. It simplifies the login process significantly, allowing users to access Verkada Command with their existing credentials. You can find more details on how Verkada Command integrates with Microsoft Entra ID using OIDC here.
If OIDC isn't your preferred route, or if your organization uses a different identity provider (IdP), SAML and OAuth are solid alternatives. These protocols allow you to connect Verkada to services like Okta, Google Workspace, or others. This is super helpful because it centralizes user management. Instead of managing logins in multiple places, you handle it all through your main IdP. This makes it easier to add or remove users and control who has access to what across different applications.
Two-factor authentication adds an extra layer of security. After entering your password, you'll need to provide a second piece of proof, like a code from your phone via SMS or an authenticator app. This makes it much harder for unauthorized people to get into your account, even if they somehow get your password. It’s a straightforward way to significantly boost your login security.
Implementing advanced login options like SSO and 2FA is not just about convenience; it's a critical step in protecting your organization's sensitive data. By centralizing authentication and adding extra verification steps, you reduce the risk of unauthorized access and simplify user management for administrators.
Managing who can access your Verkada system and what they can do is a big part of keeping things secure and running smoothly. When you have a lot of users, doing this one by one can get pretty tedious, right? That's where some smart tools come in handy.
Think about setting up new user accounts. If you're using a system like Microsoft Entra ID or Okta, you can connect it to Verkada using something called SCIM (System for Cross-Domain Identity Management). This basically means when you add, change, or remove a user in your main system, it automatically happens in Verkada too. No more manual account creation or deletion for every single person.
This makes sure your user list is always up-to-date and reduces the chance of old accounts lingering around.
Once users are in the system, you need to control what they can see and do. Verkada lets you set different permission levels. You can group users based on their roles – like administrators, security guards, or general staff – and assign specific access rights to each group.
Keeping user management efficient and secure means less administrative overhead and a stronger security posture for your Verkada deployment. It's about making sure the right people have the right access, and that access is managed automatically whenever possible.
This approach helps prevent unauthorized access and makes the whole process much simpler, especially as your organization grows.
Alright, so you're looking to get Single Sign-On (SSO) working with Verkada. This means you can use one set of credentials to log into Verkada, which is super handy and generally a good security move. First up, we need to tell Duo all about your Verkada setup.
Here’s how you get started:
Verkada uses your email address to figure out who's logging in. Duo usually handles this automatically, mapping your email attribute. If your company uses a different way to store emails, you might need to tell Duo where to find it. You can also tweak other settings here, like renaming the application in Duo or setting up group policies. Keep that Duo tab open, we'll be back.
Now, let's connect Verkada to your main identity system using SAML. This is how Verkada will talk to your chosen provider, like Okta or Microsoft Entra ID, to verify users.
yourcompany.com) in the "Email Domains" section.It's really important to get these details exactly right. A small typo in an email domain or a mismatched ID can stop SSO from working altogether, leaving people locked out.
Before you roll this out to everyone, a test run is a must. This makes sure everything is hooked up correctly and users won't have any trouble logging in.
If the test works, great! If not, double-check all the information you entered in both Duo and Verkada. Pay close attention to the email domains and the metadata files. Sometimes, just re-downloading the XML from Duo and re-uploading it to Verkada can fix things. You can also check the Duo Universal Prompt update progress if you're using that feature, as it might show some clues.
So, you've got Verkada set up, which is great. But how do you make sure only the right people are getting in, and that they're doing it safely? That's where Duo comes in. Think of Duo as an extra layer of security, specifically for your Verkada logins. It's not just about passwords anymore; Duo adds some smart checks to make things tougher for anyone trying to sneak in.
Duo Single Sign-On, or Duo SSO, basically acts as a middleman for your Verkada login. Instead of going straight to Verkada, you first go through Duo. Duo then checks who you are, often using your existing company login details, and then asks for a second form of verification – like a code from your phone. This means even if someone gets your password, they still can't get into Verkada without that second step.
It's pretty flexible too. You can set different rules for different apps. For example, maybe you want users to do the extra verification every single time they log into Verkada, but perhaps only once a week for another less sensitive app. Duo lets you set these kinds of policies.
Want to make sure everyone uses this Duo security for Verkada? You can actually force it. Once you've got Duo SSO set up with Verkada, there's a setting in your Verkada admin panel. You just need to find the Single Sign-On (SSO) Configuration section and flip a switch to "Require SSO." This means no more direct logins to Verkada; everyone gets routed through Duo first.
Here's a quick rundown of how to get that switch flipped:
When users log in, they'll see Duo's Universal Prompt. This is the screen where they'll do their second-factor authentication. Duo has been updating this prompt to make it look a bit cleaner and work more smoothly across different devices. You can actually check the progress of these updates for your Verkada application within the Duo Admin Panel. It shows you when the new prompt is available and how the migration is going. This way, your users get a consistent and modern login experience every time they access Verkada through Duo.
Making sure your login process is secure doesn't have to be complicated. By using tools like Duo SSO, you add strong security checks without making it a hassle for your team to get to the systems they need.
Alright, let's talk about how you can actually manage who gets into your Verkada system and how they do it. It’s not just about setting things up once and forgetting about it; you've got to keep an eye on it, especially as your team grows or changes.
So, where do you even start with this? You'll want to head over to Verkada Command. Once you're in, look for the 'Admin' section. From there, it's usually under 'Users & Permissions,' and then you'll find a list of 'Users.' Clicking on a specific user's profile is your gateway to controlling their login details. This is where the real power to adjust individual access lies. It’s pretty straightforward once you know where to look, but it’s easy to miss if you’re just poking around.
Sometimes, people just don't get that first invite email, or maybe they've lost their password for the tenth time. No worries, you can handle that right from the user's profile. There's usually a 'Control Login' option, and within that, you'll see buttons to 'Resend Invite' or 'Reset Password.' It’s a simple fix for common login hiccups. You can also reactivate a user if they've been deactivated previously, which is handy if someone leaves and then comes back. Just head to Admin settings, then Users & Permissions, and then Users to get that process started.
Beyond just invites and passwords, you might need to tweak other login-related settings for specific users. This could involve changing their associated email address or adjusting their authentication methods if you're using more advanced setups like Single Sign-On (SSO). The 'Control Login' area is generally where you'll find these options. It’s good practice to review these settings periodically, especially if you've implemented new security measures or if user roles have changed. Keeping these settings accurate helps maintain a secure and functional system for everyone involved.
Managing user logins isn't just a one-time setup. It requires ongoing attention to keep your Verkada system secure and accessible to the right people. Think of it like tending a garden; a little regular care goes a long way.
So, that's the rundown on keeping your Verkada login portal locked down. We've talked about different ways to log in, like using your usual password, or going for something a bit more secure like two-factor authentication or even single sign-on if your company uses it. It might seem like a lot of steps, but honestly, it's worth it to keep your system safe. Just remember to pick the method that makes the most sense for you and your team, and stick with it. A little effort now can save a lot of headaches later.
You can log in using your email and password. For better security, you can also use Single Sign-On (SSO) with services like Duo, or set up Two-Factor Authentication (2FA) with a code from your phone.
SSO lets you log into Verkada and other apps using just one set of login details, usually from your company's system. This means you don't have to remember multiple passwords.
2FA adds an extra layer of security. Even if someone gets your password, they still need a code from your phone or an app to log in, making your account much harder to hack.
OIDC is a modern way to log in securely. It works with SSO and lets you use your company's login system to access Verkada without sharing your password directly.
As an administrator, you can invite users, reset their passwords, and manage their access levels. For larger companies, systems like SCIM can automatically add or remove users.
Yes, administrators can set up Verkada so that all users must log in using the SSO method you've configured, like through Duo.
Connect with us to explore our scalable solutions tailored to your unique needs and receive a personalized free quote.


